Cosmos Daemon Binary Commands: A Comprehensive Guide


The Cosmos daemon binary, commonly known as Gaiad, is the primary command-line tool for interacting with the Cosmos SDK blockchain. Gaiad allows users to run full nodes, validate transactions, manage keys and accounts, and much more. In this blog post, we will dive into the most common Gaiad commands, providing an overview of each and explaining how they can be used to interact with the Cosmos ecosystem.
Please note that this guide employs “gaiad” as an example of a Cosmos daemon. However, it is important to replace this with the appropriate daemon command for the chain that you are currently running.
Overview
Service Commands
- gaiad start: This command starts the Gaiad full node, allowing you to synchronize with the Cosmos network and participate in consensus. Running a full node contributes to the decentralization and security of the network.
- gaiad status: This command returns the status of your Gaiad full node, including its synchronization progress and network information.
Usually, instead of utilizing those specific commands directly, we would utilize systemd-related commands to create and manage the corresponding service.
Genesis Commands
- gaiad gentx: If you want to participate in the genesis of a new chain, this command generates a genesis transaction for you. It is used to register your validator’s initial stake and account information.
- gaiad validate-genesis: Before launching a new chain, it is essential to validate the genesis file. This command checks the integrity of the file and confirms that it is correctly formatted.
Transaction Commands
- gaiad tx: To send a transaction, such as transferring tokens or interacting with a smart contract, use this command.
- gaiad query: This command allows you to query the blockchain state, including account balances, transaction history, and other relevant information.
- gaiad keys: To manage and query keys and accounts stored on your local machine, use this command.
Key Management Commands
In this section, we’ll follow the journey of a user, Alice, as she sets up a validator node on the Cosmos network. We’ll explore the process of creating, managing, and recovering keys using Gaiad commands, focusing on the importance of each step along the way.
Creating a New Key Pair
To begin her journey, Alice needs to create a new key pair (public and private keys) that will be used for her validator node. She uses the following Gaiad command, replacing <keyname> with a name of her choice:
gaiad keys add <keyname>
Remember to keep a copy of your mnemonic phrase in a safe place and never share it with anyone.
Recovering a Key Using the Mnemonic Phrase
In certain situations, suppose Alice has stored her mnemonic phrase and needs to recover her key. In that case, she can utilize the --recover option with the gaiad keys add to restore it.
gaiad keys add <keyname> --recover
Alice is then prompted to enter the mnemonic phrase, which allows her to recover her key successfully.
Importing a Private Key
In certain situations, suppose Alice has her private key exported, and Alice realizes she needs to import it to another device. To do this, she uses the following command, providing the <keyname> and the encrypted <priv_key>:
gaiad keys import <keyname> <priv_key>
Listing Local Keys
As Alice works on setting up her validator node, she wants to see a list of all the keys stored locally on her machine. She uses the following command to display their names and associated addresses:
gaiad keys list
Displaying Key Information
Before continuing, Alice wants to view the information about her newly created key, including her wallet address (cosmos…). She uses the following command:
gaiad keys show <keyname>
To retrieve her validator operator address (cosmosvaloper…), Alice appends the --bech=val option to the command:
gaiad keys show <keyname> --bech=val
Finally, Alice checks her validator’s consensus public key in bech32 format by running:
gaiad tendermint show-validator
She can now share this key with others to prove her validator identity.
Deleting a Key
Alice realizes that she has an old, unused key that she wants to remove from her local storage. She uses the following command to delete it, but she’s cautious because deleting a key permanently removes access to any funds associated with the address:
gaiad keys delete <keyname>
Exporting a Private Key
To ensure she has a backup of her validator key, Alice decides to export her private key in an encrypted format. This will be useful if she needs to restore her key or transfer it to another device. She uses the following command:
gaiad keys export <keyname>
In addition to exporting the private key, it is also important to back up thepriv_validator_key.jsonfile in the.gaia/config/directory for validator nodes.
Displaying the Mnemonic Phrase
In case Alice ever needs to recover her private key, she wants to have the mnemonic phrase associated with her key. A mnemonic phrase is a human-readable representation of a private key and can be used for backup and recovery purposes. She uses the following command:
gaiad keys mnemonic <keyname>
Bank Commands
In this section, we’ll explore various bank commands available in the Cosmos SDK, focusing on querying account balances, transferring coins, and performing cross-chain transfers using Inter-Blockchain Communication (IBC). By the end of this guide, you’ll have a strong understanding of how to utilize these commands effectively.
Querying Account Balance
To start, it’s essential to know how to check an account balance on the Cosmos network. You can query the balance of any account by using the following command:
gaiad query bank balances <address>
Replace <address> with the wallet address you'd like to query. The output will display the account's available tokens and their respective denominations.
Transferring Coins
Transferring tokens between accounts is a fundamental operation on the Cosmos network. You can send tokens from one account to another using the following command:
gaiad tx bank send <from_address> <to_address> <amount>
Replace <from_address> with the sender's address, <to_address> with the recipient's address, and <amount> with the number of tokens you'd like to send (including the token denomination, e.g., "1000uatom").
After executing the command, you’ll be prompted to enter the sender’s passphrase. Once entered, the transaction will be broadcast to the network, and the tokens will be transferred.
Transferring Coins Over IBC
The Cosmos network’s true power lies in its ability to facilitate cross-chain communication through the Inter-Blockchain Communication (IBC) protocol. IBC allows tokens to be transferred between different blockchains within the Cosmos ecosystem.
First, you need to find the IBC path between the source and destination chains. To do this, you can use the following command:
gaiad q ibc paths list
This will display a list of available IBC paths, including their source and destination chain IDs, as well as the associated client, connection, and channel IDs.
Next, initiate an IBC transfer by using the following command:
gaiad tx ibc-transfer transfer <source_channel_id> <dest_channel_id> <amount> <receiver_address> --from <from_address>
Replace <source_channel_id> and <dest_channel_id> with the channel IDs for the source and destination chains, <amount> with the number of tokens you'd like to send (including the token denomination), <receiver_address> with the recipient's address on the destination chain, and <from_address> with the sender's address on the source chain.
Once executed, the tokens will be transferred across chains, and the recipient’s account on the destination chain will be credited with the corresponding amount.
Validator Management Commands
In this guide, we’ll cover the create-validator and edit-validator commands, which allow you to set up and modify a validator node on the Cosmos network. By the end of this guide, you'll have a strong understanding of how to manage your validator node effectively.
Creating a Validator
To create a validator, you’ll need to submit a transaction with the required information. Before proceeding, make sure you have the necessary funds in your account to cover the self-delegation and transaction fees. Use the following command to create a validator:
gaiad tx staking create-validator \
--commission-max-change-rate=<max_change_rate> \
--commission-max-rate=<max_rate> \
--commission-rate=<rate> \
--amount=<self_delegation_amount> \
--pubkey=<consensus_pubkey> \
--min-self-delegation=<min_self_delegation> \
--moniker=<moniker> \
--chain-id=<chain_id> \
--from=<key_name> \
[--identity=<identity>] \
[--website=<website>] \
[--security-contact=<security_contact>] \
[--details=<details>]
Replace the placeholders with the appropriate values:
<max_change_rate>: The maximum daily increase in the commission rate (e.g., "0.01"). Note that this value cannot be modified after the validator is created.<max_rate>: The maximum commission rate the validator can charge (e.g., "0.20").<rate>: The initial commission rate the validator will charge (e.g., "0.10").<self_delegation_amount>: The amount of tokens to self-delegate (including the token denomination, e.g., "1000000uatom").<consensus_pubkey>: The validator's consensus public key, usually obtained using thegaiad tendermint show-validatorcommand.<min_self_delegation>: The minimum amount of tokens the validator must self-delegate (e.g., "1").<moniker>: A human-readable name for the validator.<chain_id>: The chain ID of the Cosmos network you're connecting to (e.g., "cosmoshub-4").<key_name>: The local key name associated with the validator's operator address.
Optionally, you can include additional information about the validator:
<identity>: A Keybase identity for the validator. To create a Keybase identity, sign up for an account at keybase.io, create a PGP key, and link it to your Cosmos validator operator address. This identity can be used for identity verification and to display a validator's profile picture on various Cosmos platforms.<website>: The validator's website URL.<security_contact>: A contact email for security-related inquiries.<details>: Additional details about the validator.
Once the transaction is confirmed, your validator node will be created and join the active validator set, assuming it meets the network’s minimum self-delegation and voting power requirements.
Editing a Validator
You may need to update your validator’s information, such as its moniker, website, or commission rate. To do so, use the edit-validator command:
gaiad tx staking edit-validator \
--chain-id=<chain_id> \
--from=<key_name> \
[--moniker=<new_moniker>]
[--identity=<new_identity>]
[--website=<new_website>]
[--security-contact=<new_security_contact>]
[--details=<new_details>]
[--min-self-delegation=<new_min_self_delegation>]
[--commission-rate=<new_rate>]
Replace <chain_id> and <key_name> with the appropriate values. You can update any of the optional fields by including the new value with the corresponding flag. Note that the — comission-max-change-rate cannot be modified after the validator is created.
Keybase Identity
To configure your Keybase identity for use in the create-validator and edit-validator commands, follow these steps using the https://keybase.io/ platform.
First, register and log in to your Keybase account.
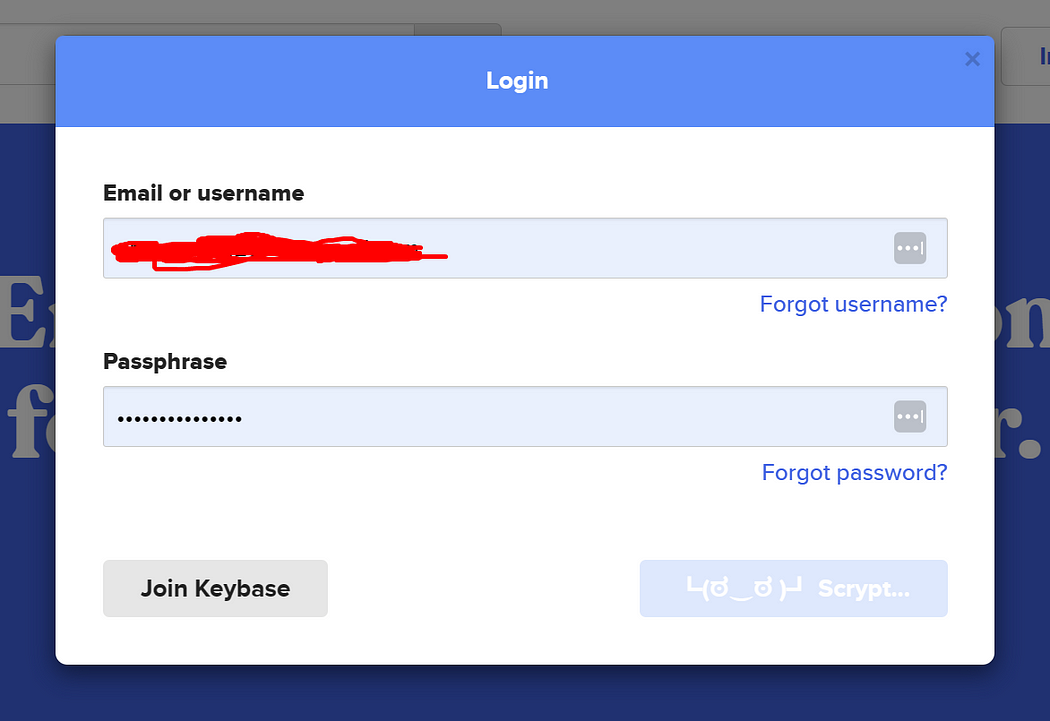
Next, edit your profile information and add a PGP key.

PGP key is the designated key to be used in the identity field.
Validator Reward and Delegation Management
In this section, we’ll explore various Cosmos SDK commands related to managing delegation rewards and interacting with the validator ecosystem. By the end of this guide, you’ll have a strong understanding of how to utilize these commands effectively.
Getting Delegation Reward
Delegators receive rewards for supporting validators on the Cosmos network. To check the rewards associated with a specific delegation, use the following command:
gaiad query distribution rewards <delegator_address> <validator_address>
Replace <delegator_address> with the delegator's address and <validator_address> with the validator's address. The output will display the rewards earned by the delegator for supporting the specified validator.
Getting Validator Reward
Validators also receive rewards for their work on the network. To check the rewards associated with a specific validator, use the following command:
gaiad query distribution validator-outstanding-rewards <validator_address>
Replace <validator_address> with the validator's address. The output will display the outstanding rewards earned by the validator.
Withdrawing Delegation Reward
To withdraw a delegator’s rewards, use the following command:
gaiad tx distribution withdraw-rewards <validator_address> --from <delegator_address>
Replace <validator_address> with the validator's address and <delegator_address> with the delegator's address. After executing the command and confirming the transaction, the rewards will be withdrawn and added to the delegator's account balance.
Withdrawing Validator Reward
Validators can also withdraw their rewards using a similar command:
gaiad tx distribution withdraw-validator-commission <validator_address> --from <validator_address>
Replace <validator_address> with the validator's address. After executing the command and confirming the transaction, the rewards will be withdrawn and added to the validator's account balance.
Delegating Tokens
To support a validator by delegating tokens, use the following command:
gaiad tx staking delegate <validator_address> <amount> --from <delegator_address>
Replace <validator_address> with the validator's address, <amount> with the number of tokens to delegate (including the token denomination, e.g., "1000uatom"), and <delegator_address> with the delegator's address. After executing the command and confirming the transaction, the specified amount of tokens will be delegated to the validator.
Redelgating Tokens
To redelegate tokens from a validator to another validator without undelegating tokens, use the following command:
gaiad tx staking redelegate <from_validator_address> <to_validator_address> <amount> --from <delegator_address>
Replace <from_validator_address> with the validator's address you want to remove your delegation from, <to_validator_address> with the validator's address you want to move your delegation to,<amount> with the number of tokens to undelegate (including the token denomination), and <delegator_address> with the delegator's address. After executing the command and confirming the transaction, the specified amount of your delegation will be moved from the a validator to another.
Undelegating Tokens
To undelegate tokens from a validator, use the following command:
gaiad tx staking unbond <validator_address> <amount> --from <delegator_address>
Replace <validator_address> with the validator's address, <amount> with the number of tokens to undelegate (including the token denomination), and <delegator_address> with the delegator's address. After executing the command and confirming the transaction, the specified amount of tokens will be undelegated from the validator and returned to the delegator's account balance.
Governance Commands
The Cosmos network emphasizes decentralization and community involvement in its decision-making processes. The governance module allows users to create and vote on proposals, shaping the direction and future of the ecosystem. In this blog post, we’ll explore various Cosmos SDK commands related to the governance module, focusing on creating and voting on proposals. By the end of this guide, you’ll have a strong understanding of how to participate in the governance process effectively.
Creating a Proposal
Anyone can create a proposal on the Cosmos network by submitting a transaction with the required information. To create a proposal, use the following command:
gaiad tx gov submit-proposal --title "<title>" --description "<description>" --type "<proposal_type>" --deposit "<deposit_amount>" --from <proposer_address>
Replace <title> with a concise title for the proposal, <description> with a detailed description of the proposal's purpose and goals, <proposal_type> with the type of proposal (e.g., "Text", "ParameterChange", or "SoftwareUpgrade"), <deposit_amount> with the required deposit amount in tokens (including the token denomination, e.g., "1000uatom"), and <proposer_address> with the address of the user submitting the proposal.
After executing the command and confirming the transaction, the proposal will be submitted to the network, and the deposit amount will be deducted from the proposer’s account balance. The proposal will enter the initial deposit period, during which other users can contribute additional deposits.
Voting on a Proposal
Once a proposal reaches the minimum deposit requirement and enters the voting period, users can vote on the proposal. To cast a vote, use the following command:
gaiad tx gov vote <proposal_id> <vote_option> --from <voter_address>
Replace <proposal_id> with the ID of the proposal you want to vote on, <vote_option> with your chosen vote option (e.g., "Yes", "No", "NoWithVeto", or "Abstain"), and <voter_address> with the address of the user casting the vote.
After executing the command and confirming the transaction, the vote will be recorded on the network. The voting period typically lasts for a predetermined amount of time, after which the proposal’s outcome is determined based on the results.
Querying a proposal
To view the details of a specific proposal, use the following command:
gaiad query gov proposal <proposal_id>
Replace <proposal_id> with the ID of the proposal you want to view. The output will display the proposal's title, description, status, and other relevant information.
Querying proposal deposit details
To view the deposit details of a proposal, use the following command:
gaiad query gov deposits <proposal_id>
Replace <proposal_id> with the ID of the proposal you want to view. The output will display the deposit amounts and the addresses of the depositors.
Querying proposal votes
To view the votes cast on a specific proposal, use the following command:
gaiad query gov votes <proposal_id>
Replace <proposal_id> with the ID of the proposal you want to view. The output will display the vote options and the addresses of the voters.